Engaging Introduction
Have you ever found yourself craving a rich, chocolatey dessert but didn’t want to go through the hassle of baking an entire cake? Or perhaps you’re wondering if it’s possible to create something truly satisfying with just three simple ingredients and within five minutes? The answer is yes! Today, we’ll explore how to make the perfect Oreo mug cake recipe that not only satisfies your sweet tooth but also does so quickly and effortlessly
Let’s dive into this delightful treat together!
Overview
What sets this Oreo mug cake recipe apart from other desserts? For starters, its simplicity cannot be overstated. With just three ingredients Oreos, milk, and baking powder you can whip up a warm, gooey masterpiece right in your mug. This dessert takes less than five minutes to prepare, making it ideal for those spontaneous cravings or late-night munchies. Moreover, its ease of preparation means even beginners can achieve professional results without breaking a sweat.
The beauty of this recipe lies in its versatility; while sticking closely to these core components ensures success every time, there’s plenty of room for creativity when adding extras like chocolate chips or fruit toppings. Plus, because each serving is contained within one mug, portion control becomes effortless and an added bonus for anyone watching their calorie intake.
Table of Contents
Key Benefits of This Oreo Mug Cake Recipe
If you’re craving something sweet but don’t want to commit to a full-blown baking session, this Oreo mug cake recipe is here to save the day! Ready in under five minutes with just three simple ingredients, it’s perfect for those moments when your sweet tooth strikes unexpectedly
Whether you’re at home relaxing or need a quick pick-me-up during a busy day, this dessert delivers big flavor without requiring much effort.
Here’s why this recipe stands out:
- Quick Preparation : From start to finish, this mug cake takes less than five minutes. Yes, you read that right! It’s ideal for satisfying cravings on the go.
- Minimal Ingredients : You only need three key components: Oreos, milk, and baking powder. Chances are, you already have these staples in your pantry.
- Customizable Delight : While the base recipe is delicious on its own, feel free to experiment by adding chocolate chips, caramel drizzle, or even flavored Oreos for an extra twist.
- Single-Serving Perfection : Designed as a single-serving treat, it helps control portions while still delivering maximum satisfaction.
Let’s face it life gets hectic sometimes, and we all need shortcuts that don’t compromise taste. That’s exactly what makes this Oreo mug cake so special. It combines convenience with indulgence, making it a go-to option whenever you’re in the mood for something sweet but short on time.
Now that you know how amazing this recipe is, let’s dive into the details of what goes into creating this delightful masterpiece. Stay tuned for the next section where we’ll cover the essential ingredients and their roles in crafting this irresistible treat!
Essential Ingredients for Your Oreo Mug Cake
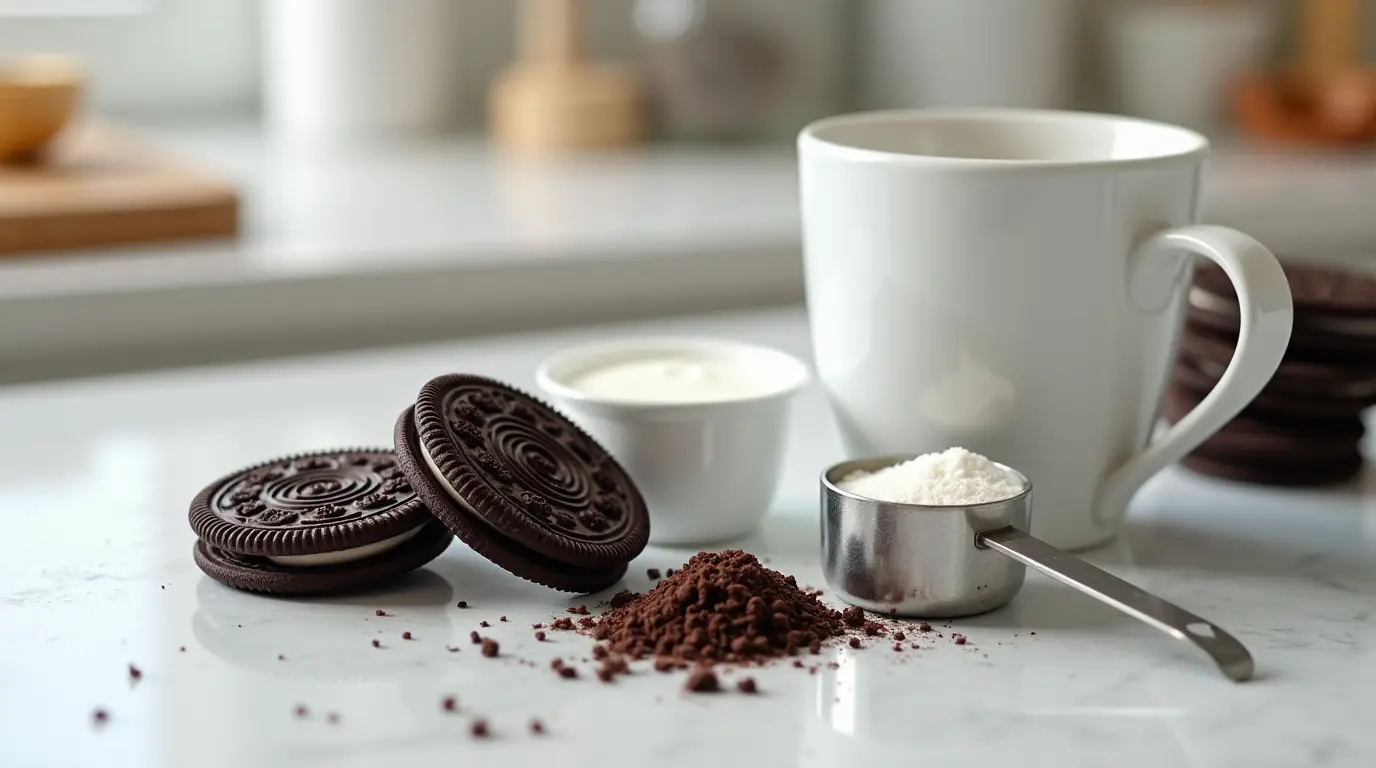
To create the perfect Oreo mug cake , you’ll need just three simple ingredients that work together to deliver a rich, chocolatey dessert in minutes. Here’s what you’ll need:

- Oreos (4 pieces) : These iconic cookies form the foundation of your mug cake. Their creamy filling and crunchy wafer exterior provide both structure and flavor. If you’re feeling adventurous, try using flavored Oreos like peanut butter or caramel-filled varieties for an exciting twist
- Milk (3 tablespoons) : Acts as the binding agent that brings the crushed Oreos together into a smooth batter. Whole milk is ideal for creaminess, but almond milk or oat milk can be used as dairy-free alternatives without compromising texture
- Baking Powder (1/4 teaspoon) : A small amount of baking powder helps the mixture rise slightly, ensuring your mug cake has a light and fluffy consistency rather than being dense or flat
Why These Ingredients Work So Well
The combination of crushed Oreos, milk, and baking powder creates a harmonious balance of flavors and textures. The Oreos dissolve partially when mixed with milk, forming a thick batter that becomes tender and moist when microwaved. Meanwhile, the baking powder adds airiness, making each bite feel soft and indulgent.
Pro Tip: For those who prefer sweeter treats, consider adding a teaspoon of sugar or a pinch of vanilla extract to enhance the overall sweetness and aroma
However, keep in mind that traditional Oreos already contain plenty of sugar, so this step is optional depending on your taste preferences.
Now that we’ve covered the essential ingredients, let’s move on to the fun part of how to bring them all together! In the next section, I’ll walk you through step-by-step instructions to ensure your Oreo mug cake turns out perfectly every time. Stay tuned!
Step-by-Step Instructions for Your Oreo Mug Cake
Now that you’ve gathered your ingredients, it’s time to bring this Oreo mug cake to life! Follow these simple steps to create a warm, gooey dessert in just minutes:

Step 1: Prepare Your Mug
Start by selecting a microwave-safe mug that can hold at least 10 ounces. To prevent sticking and ensure an easier cleanup, lightly mist the inside of the mug with nonstick spray or grease it with a little butter
This small step makes all the difference when enjoying your treat!
Step 2: Crush Those Oreos
Place four Oreo cookies into your prepared mug. Using either your fingers or a fork, crush them into fine crumbs. The finer the crumbs, the smoother your batter will be. If you’re using a food processor or blender, pulse the Oreos until they resemble sand-like particles
Step 3: Mix in the Milk
Pour three tablespoons of milk over the crushed Oreos. Stir gently until the mixture forms a paste-like consistency. Let it sit for about 30 seconds; this allows the cookie crumbs to soften and absorb the liquid fully
Step 4: Add Baking Powder
Sprinkle in ¼ teaspoon of baking powder and mix thoroughly. This leavening agent helps the batter rise slightly during microwaving, giving your mug cake a light and fluffy texture instead of making it dense or rubbery
Be careful not to overmix just enough to incorporate everything evenly.
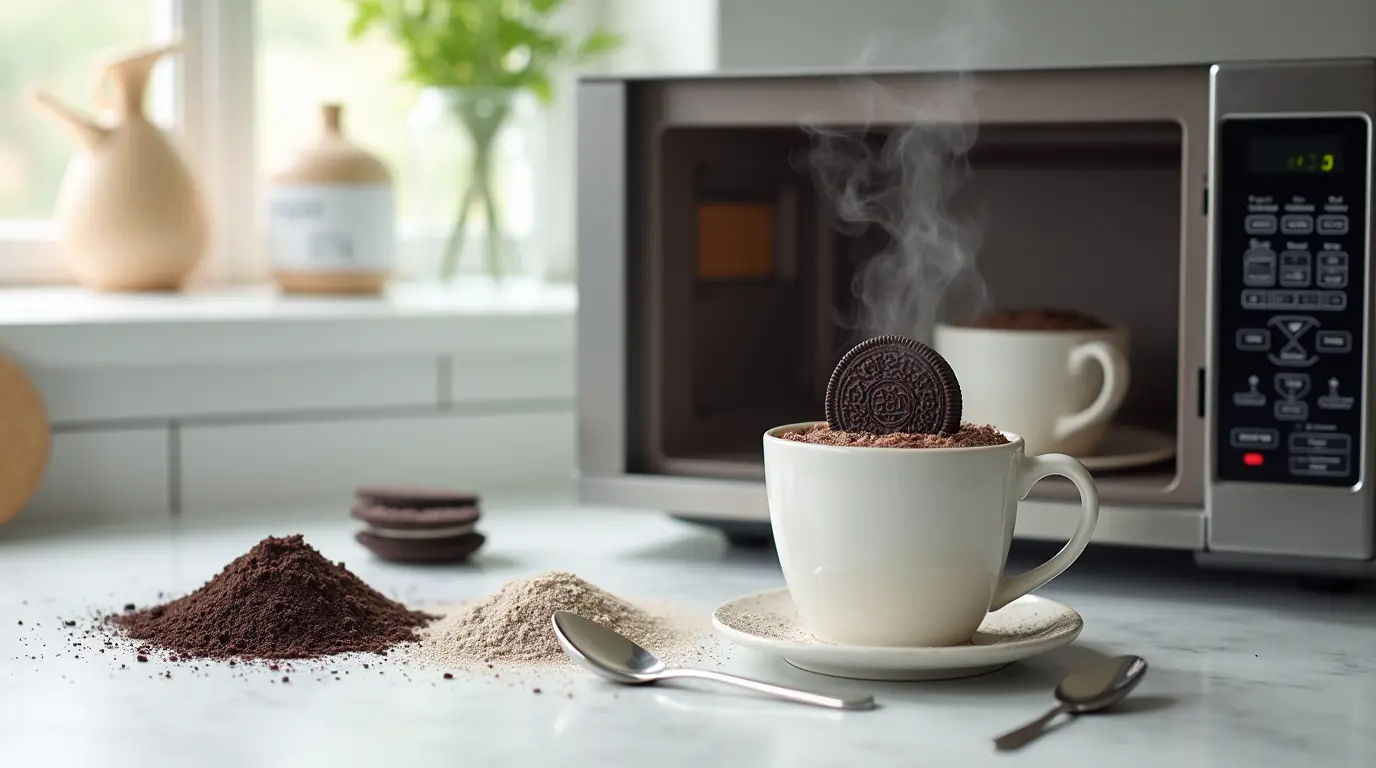
Step 5: Microwave Magic
Pop your mug into the microwave and heat on high for 60 seconds . After one minute, check if the top looks set. If it still appears jiggly in the center, continue microwaving in 10-second intervals , checking frequently to avoid overcooking
Overcooking can lead to a dry or hard texture, so keep an eye on it!
Pro Tips for Success:
- Rotate Midway : For even cooking, rotate the mug halfway through the microwaving process. This ensures consistent heat distribution throughout the cake.
- Adjust Timing : Every microwave is different, so adjust the cooking time based on your appliance’s power level.
- Don’t Overfill : Leave some space at the top of the mug since the batter may expand slightly as it cooks.
With these easy steps, you’ll have a delicious Oreo mug cake ready to enjoy in no time! In the next section, we’ll explore some expert tips and variations to take your dessert game to the next level. Keep reading to discover how you can make this recipe truly your own!
Pro Tips and Variations for Your Oreo Mug Cake
Now that you’ve mastered the basics of making an Oreo mug cake , it’s time to take things up a notch! Whether you’re looking to refine your technique or add some flair to your dessert, here are some expert tips and creative variations to make this recipe truly yours.
Expert Pro Tips:
- Perfect Texture Every Time : If your mug cake turns out too dense, try reducing the milk by half a tablespoon next time. Conversely, if it feels too dry, increase the milk slightly
- Prevent Overcooking : Microwaves vary in power, so always start with 50-60 seconds and check the consistency before adding more time. Overcooking can lead to a rubbery texture
- Enhance Flavor with Add-ins : A pinch of salt can balance the sweetness, while a teaspoon of vanilla extract adds depth to the flavor profile
Creative Variations:
Why stop at the classic version? Here are a few ideas to switch things up:
- Peanut Butter Surprise : Swap regular Oreos for peanut butter-filled ones and mix in a teaspoon of creamy peanut butter into the batter for added richness
- Chocolate Chip Delight : Stir in a handful of mini chocolate chips after mixing the batter for extra melty goodness
- Spiced Up Version : Sprinkle a dash of cinnamon or nutmeg into the mixture for a warm, cozy twist perfect for colder days
- Dairy-Free Option : Replace cow’s milk with almond, oat, or coconut milk to cater to dietary preferences without sacrificing taste
Fun Extras:
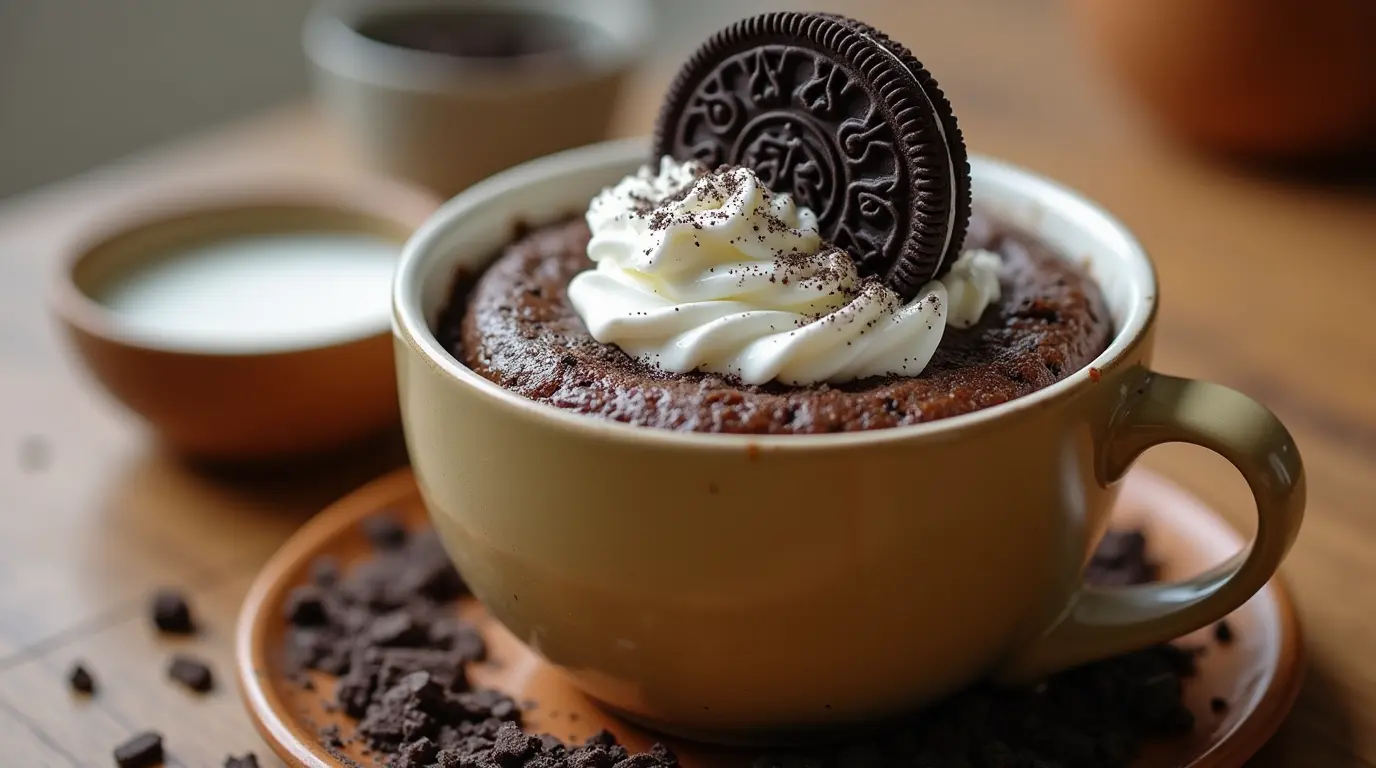
Once your mug cake is ready, don’t forget about the presentation! Topping ideas include fresh berries, whipped cream, caramel drizzle, or even crushed nuts for added crunch. These small touches can elevate your simple treat into something truly special.
With these pro tips and variations, there’s no limit to how far you can take your Oreo mug cake adventures. Experiment with flavors, textures, and toppings until you find your ultimate combination. In the next section, we’ll explore serving suggestions to help you enjoy this delightful dessert to the fullest. Keep reading to learn more!
Serving Suggestions for Your Oreo Mug Cake
Now that your Oreo mug cake is ready, it’s time to think about how you can make it look as good as it tastes! Presentation plays a big role in enhancing the overall experience of enjoying your dessert. Here are some creative ideas to help you take this simple treat to the next level:
1. Garnish with Style
Add a finishing touch by topping your mug cake with something extra:
- A dollop of whipped cream or a swirl of frosting for added elegance
- Fresh fruits like strawberries, blueberries, or raspberries for a pop of color and freshness
- A drizzle of caramel, chocolate sauce, or Nutella for an indulgent flair
2. Make It Festive
Customize your mug cake to match the occasion:
- Sprinkle festive sprinkles during holidays or special celebrations for a playful vibe
- Use themed toppings like crushed candy canes at Christmas or pumpkin spice in the fall for seasonal charm
3. Serve Warm for Extra Comfort
One of the best things about mug cakes is their ability to provide instant comfort. Serve your Oreo mug cake warm straight out of the microwave for maximum gooeyness. If desired, pair it with a scoop of vanilla ice cream for a delightful contrast between hot and cold textures
4. Pair with Drinks
Enhance your dessert moment by pairing your mug cake with complementary beverages:
- A steaming cup of coffee or tea creates the perfect balance of bitter and sweet
- Milk or hot cocoa adds richness and warmth, making the experience even cozier
5. Get Creative with Containers
While mugs are traditional, don’t shy away from experimenting with different serving vessels:
- Try using ramekins or small bowls for a more polished presentation
- For a fun twist, serve your mug cake in edible cups made from waffle cones or cookie crusts
By incorporating these serving suggestions, you can transform your quick and easy Oreo mug cake into a memorable treat that delights both the eyes and taste buds. In the final section, we’ll wrap up our journey together and encourage you to explore further possibilities with this versatile recipe. Keep reading to learn more!
Conclusion: Your Oreo Mug Cake Adventure Awaits!
There you have it, a simple yet delightful Oreo mug cake recipe that proves great things really do come in small packages. Whether you’re craving a quick fix for your sweet tooth or looking to impress friends with a last-minute dessert, this treat has got you covered. With just three ingredients and five minutes of your time, you can enjoy a warm, gooey masterpiece straight from the microwave
But here’s the best part: the possibilities don’t stop here! This recipe serves as a foundation for endless creativity. Want to make it richer? Add chocolate chips or peanut butter. Feeling adventurous? Swap out classic Oreos for seasonal flavors or experiment with gluten-free flour for a healthier twist
The beauty of this mug cake lies in its versatility so don’t hesitate to personalize it according to your preferences.
Remember, cooking is all about having fun and exploring new ideas. Don’t be afraid to try different variations, toppings, or even serving styles. Who knows? You might stumble upon your very own signature version of this beloved dessert. So go ahead, grab those Oreos, and let your imagination run wild!
Before we wrap up, I encourage you to share your creations with others. Whether it’s family, friends, or fellow foodies online, spreading joy through homemade treats is one of life’s simplest pleasures. And who knows? Maybe your unique take on this Oreo mug cake will inspire someone else to embark on their own culinary adventure.
Now that you’ve learned everything there is to know about making this scrumptious treat, it’s time to put your skills to the test. Happy baking, and don’t forget to savor every bite! If you have any questions or need further guidance, feel free to check out our FAQs section below. Here’s to creating memories one mug cake at a time!

Oreo Mug Cake Recipe
Ingredients
Oreos (4 pieces) : These iconic cookies form the foundation of your mug cake. Their creamy filling and crunchy wafer exterior provide both structure and flavor. If you're feeling adventurous, try using flavored Oreos like peanut butter or caramel-filled varieties for an exciting twist
Milk (3 tablespoons) : Acts as the binding agent that brings the crushed Oreos together into a smooth batter. Whole milk is ideal for creaminess, but almond milk or oat milk can be used as dairy-free alternatives without compromising texture
Baking Powder (1/4 teaspoon) : A small amount of baking powder helps the mixture rise slightly, ensuring your mug cake has a light and fluffy consistency rather than being dense or flat
Instructions
Step 1: Prepare Your Mug
- Start by selecting a microwave-safe mug that can hold at least 10 ounces. To prevent sticking and ensure an easier cleanup, lightly mist the inside of the mug with nonstick spray or grease it with a little butter
- This small step makes all the difference when enjoying your treat!
Step 2: Crush Those Oreos
- Place four Oreo cookies into your prepared mug. Using either your fingers or a fork, crush them into fine crumbs. The finer the crumbs, the smoother your batter will be. If you’re using a food processor or blender, pulse the Oreos until they resemble sand-like particles
Step 3: Mix in the Milk
- Pour three tablespoons of milk over the crushed Oreos. Stir gently until the mixture forms a paste-like consistency. Let it sit for about 30 seconds; this allows the cookie crumbs to soften and absorb the liquid fully
Step 4: Add Baking Powder
- Sprinkle in ¼ teaspoon of baking powder and mix thoroughly. This leavening agent helps the batter rise slightly during microwaving, giving your mug cake a light and fluffy texture instead of making it dense or rubbery
- Be careful not to overmix just enough to incorporate everything evenly.
Step 5: Microwave Magic
- Pop your mug into the microwave and heat on high for 60 seconds . After one minute, check if the top looks set. If it still appears jiggly in the center, continue microwaving in 10-second intervals , checking frequently to avoid overcooking
- Overcooking can lead to a dry or hard texture, so keep an eye on it!
Notes
Nutrition Information (Per Serving)
- Calories : 250 kcal
- Fat : 12g
- Saturated Fat : 7g
- Carbohydrates : 32g
- Sugar : 18g
- Protein : 3g
- Fiber : 1g
- Sodium : 100mg
FAQs About Your Oreo Mug Cake
Have questions about making the perfect Oreo mug cake ? You’re not alone! Here are answers to some of the most common queries, ensuring your dessert turns out just right every time.
1. Is it possible to substitute skim milk for whole milk?
Absolutely! While whole milk enhances creaminess, skim milk works well too. Keep in mind that using non-dairy alternatives like almond or oat milk can also yield delicious results without compromising texture
2. Is this recipe healthy?
While it’s a dessert, you can make healthier choices by substituting sugar with a natural sweetener like honey or stevia. Additionally, opting for gluten-free flour or dairy-free milk makes this recipe more inclusive for various dietary needs
However, remember moderation is key this treat is best enjoyed occasionally as part of a balanced diet.
3. How long does the mug cake stay good after preparation?
Ideally, an Oreo mug cake tastes best when consumed fresh, straight out of the microwave. If leftovers exist (though unlikely!), store them in an airtight container in the refrigerator for up to two days. Reheat in short bursts in the microwave until warm
4. What if my mug cake doesn’t rise properly?
If your mug cake turns out flat, double-check the amount of baking powder used; it should be around ¼ teaspoon. Overmixing the batter can also lead to a dense texture, so mix gently until just combined
Lastly, ensure your microwave operates at the correct power level and adjust cooking times accordingly.
5. Can I make this recipe vegan-friendly?
Yes, absolutely! Swap regular Oreos for vegan versions and use plant-based milk along with other substitutions like oil instead of butter. This way, you can enjoy a rich, indulgent dessert without any animal-derived ingredients
6. Why does my mug cake sometimes crack on top?
Cracking occurs when the mixture cooks unevenly due to overcooking or excessive heat. To prevent this, start with shorter microwaving intervals (around 50 seconds) and check frequently before adding additional time in small increments
Rotating the mug halfway through ensures even heating.
7. Can I double the recipe for multiple servings?
Of course! Doubling the recipe works perfectly fine, but be mindful of your mug size. Use a larger vessel or split the batter between two mugs to avoid overflow during cooking. Adjust the microwaving time slightly longer to accommodate the increased volume
By addressing these common concerns, we hope you feel confident tackling any challenges that arise while creating your Oreo mug cake . Remember, practice makes perfect and every attempt brings you closer to mastering this quick and tasty dessert!

